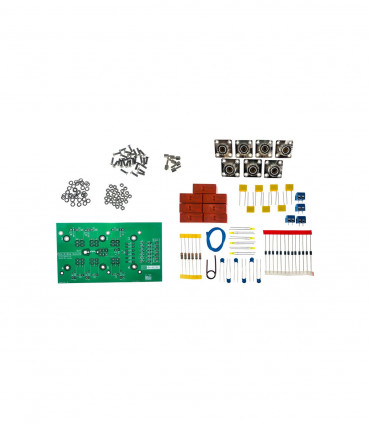
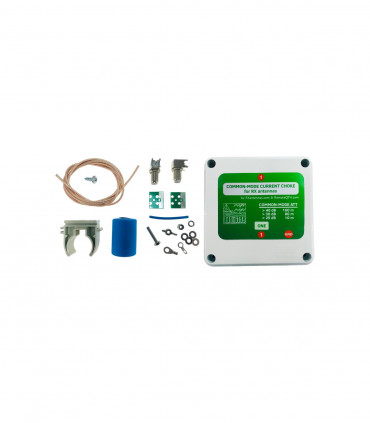
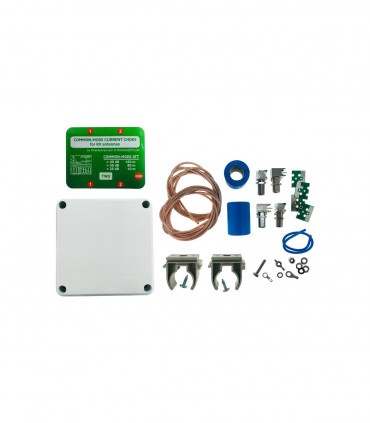
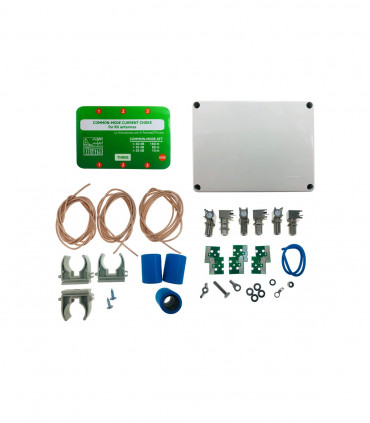
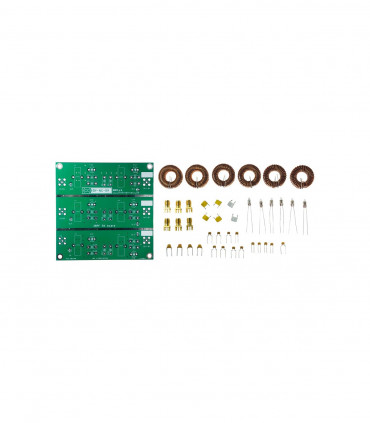
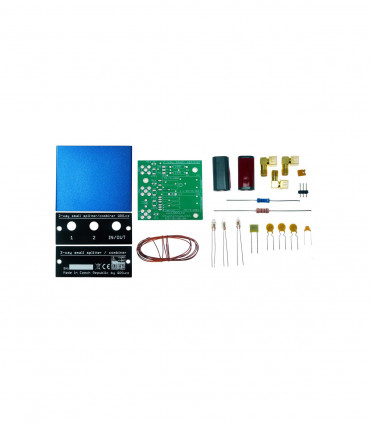
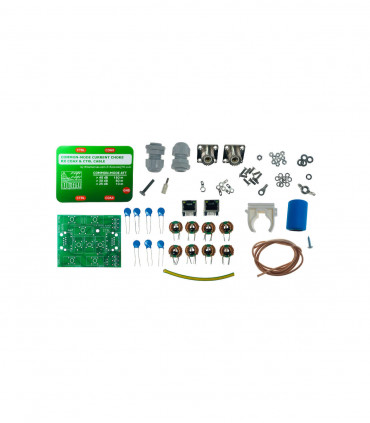
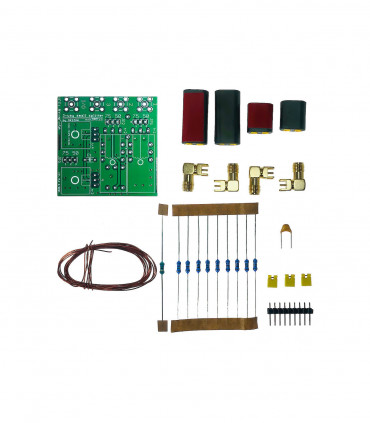
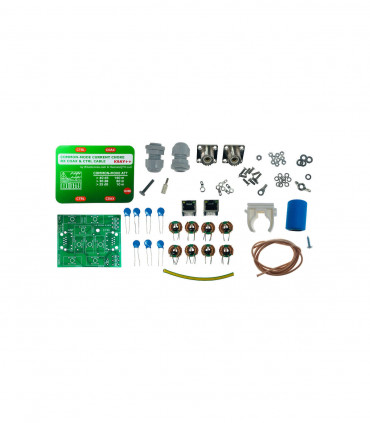
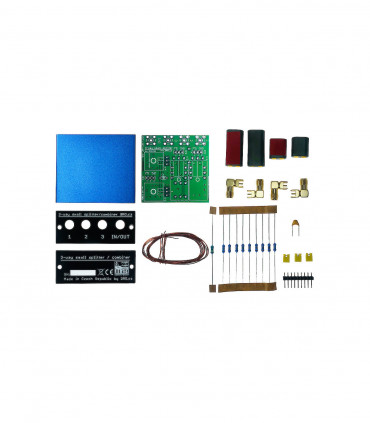
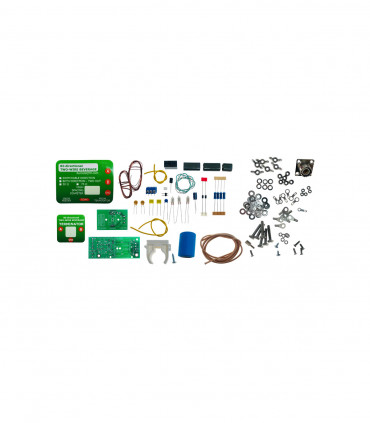
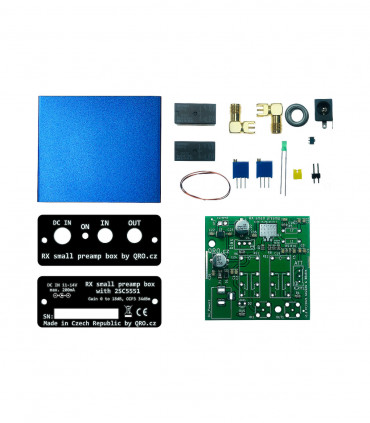
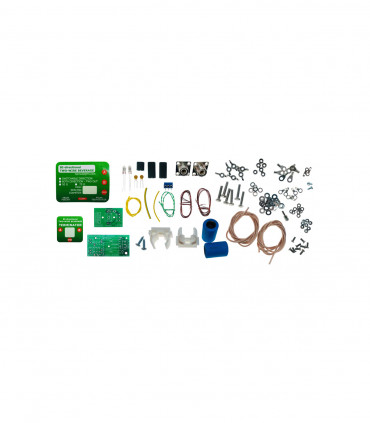
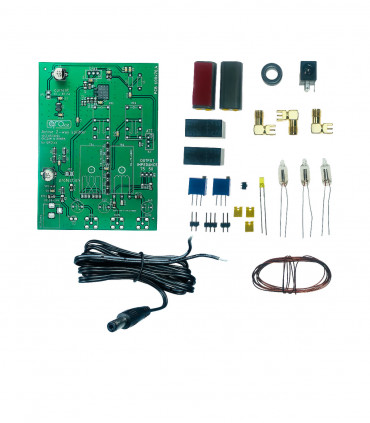
KIT or NOT? What to choose?
KIT
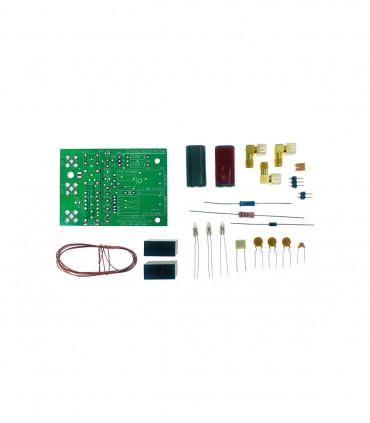
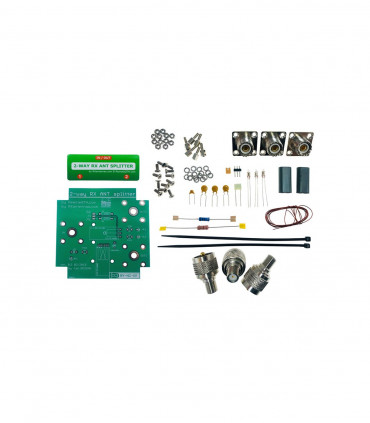
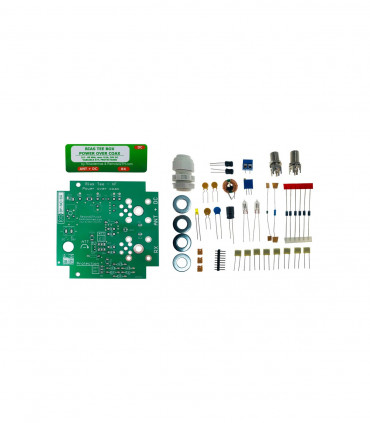
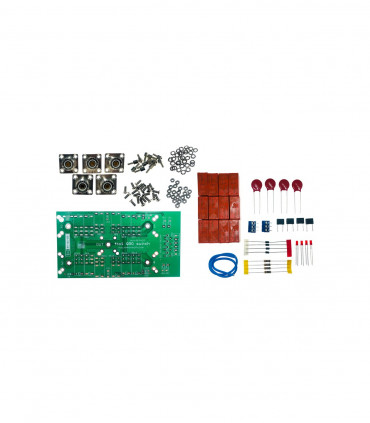
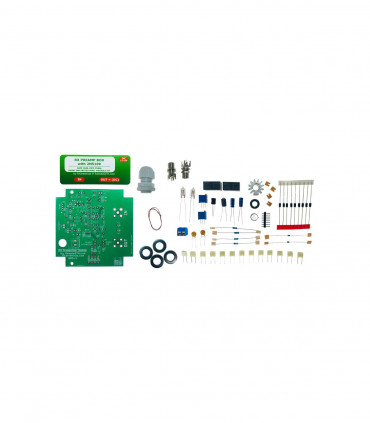
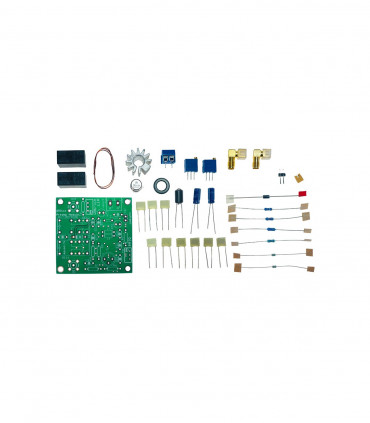
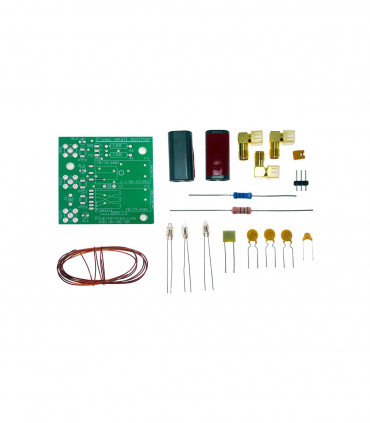
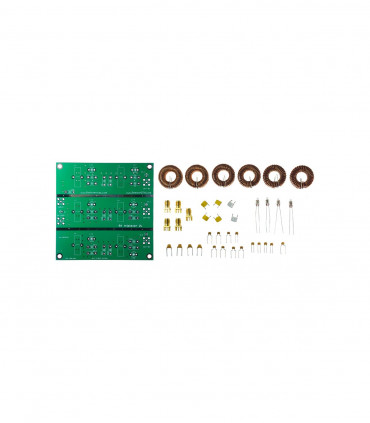
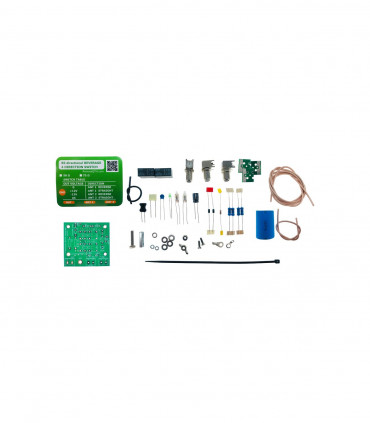
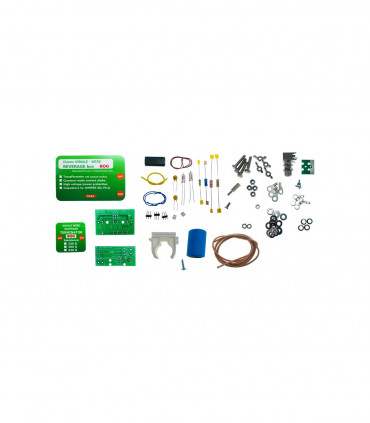
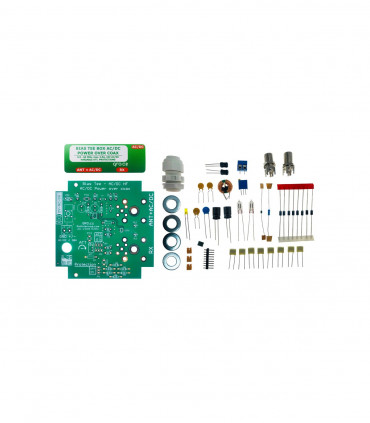
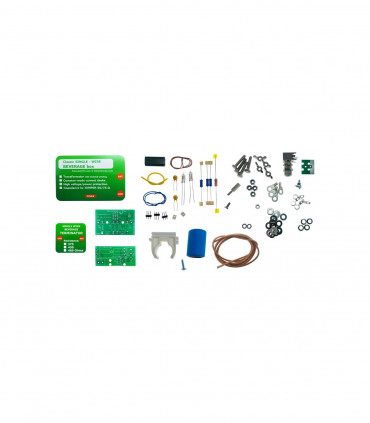
Kit containing all necessary parts. You need certain skills (knowledge of electronic components, soldering etc.) to be able to assemble the kit and eventually revive it.
ASSEMBLED
A module or whole product that is assembled, tested and fully functional. Ready to use. Sometimes additional accessories need to be connected (antenna switch, stack match etc.).
What to choose? KIT or ASSEMBLED?
This is a difficult question to answer, but we will try to make the decision easier for you.
Is a ready to use product better for you? If you are in a hurry, want to use it in an upcoming contest or can't wait to incorporate it into your ham shack, then choose the assembled version of the product. It has the advantage that as soon as you open the shipment, the product inside is already tested and ready to use.
If you are lookout forward to assembling the product yourself, choose the kit version. This option is only recommended for experienced users who have the necessary knowledge and also the equipment. With most kits, you will need tools (screwdriver, wrenches, pliers, soldering iron and many others). Another pitfall can be that you have to refer to the schematic of the PCB when assembling.
⚠ IMPORTANT NOTE: Please make a good decision before you buy the KIT. Read the instructions, look at the photos and contact us if necessary (we do not include a paper manual in shipment to ensure we always have the most current version of the manual with all important notes). Check if it is only a PCB module or complete product in box (enclosure). If the KIT needs to be adjusted (bias, gain etc.) make sure you have the necessary measuring equipment. If you are considering purchasing a kit version of the product, please read the online manual before purchasing. If you are confused, don't understand something or are unclear about something when you read the manual, please choose the assembled version of the product.
 |
 |
 |
 |
 |
 |
 |
 |
 |
 |
 |
 |
A FEW TIPs
- - Use a laboratory power supply with current limiting capability when reviving the KIT. We do not recommend using a large power supply with more than 10 A.
- - If you do not have a lab power supply, use a small 12 V approx. 1 A (from internet router etc.).
- - If necessary, insert a fuse (1 A) into the circuit.
- - Check the value of the components before soldering them to the PCB.
- - When drilling the enclosure, check the position of the PCB, and also its orientation.
- - Think about the positioning of the PCB (top and bottom in the enclosure).
- - When drilling, use a small drill bit first and later enlarge the holes as needed.
- - We recommend buying a stepped drill bit.
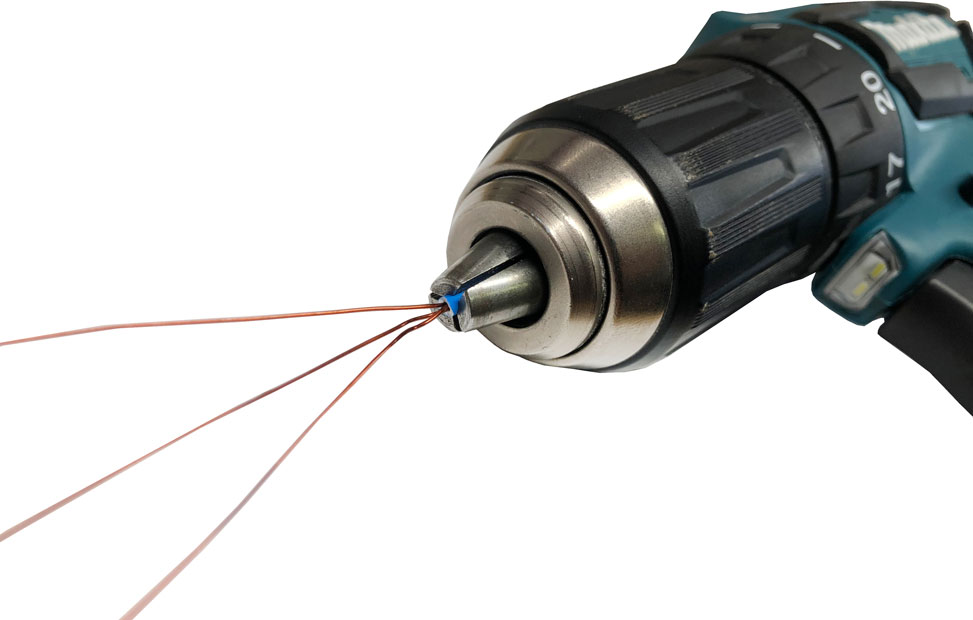
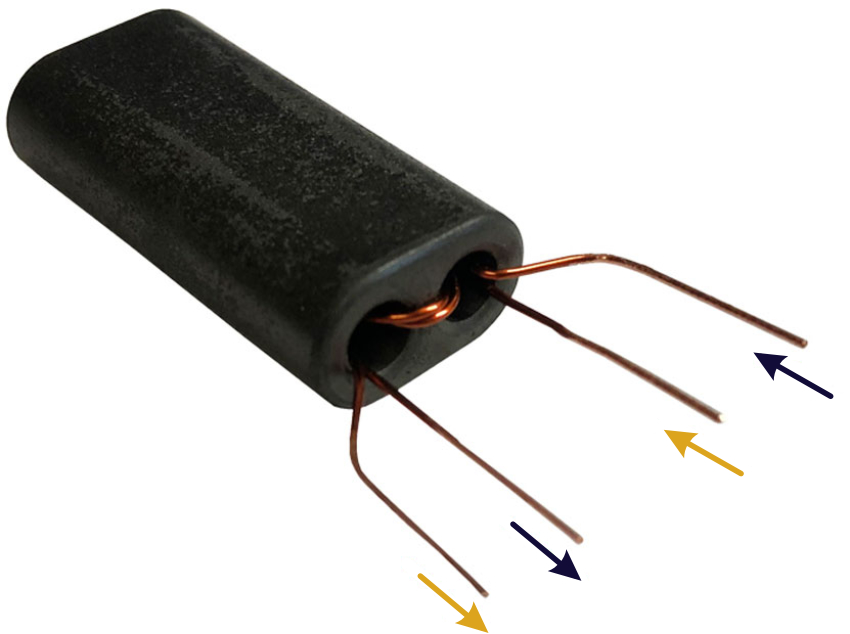
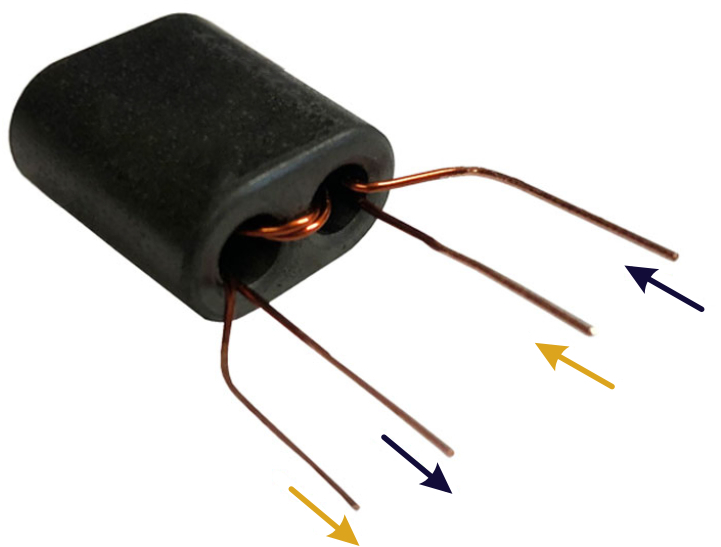
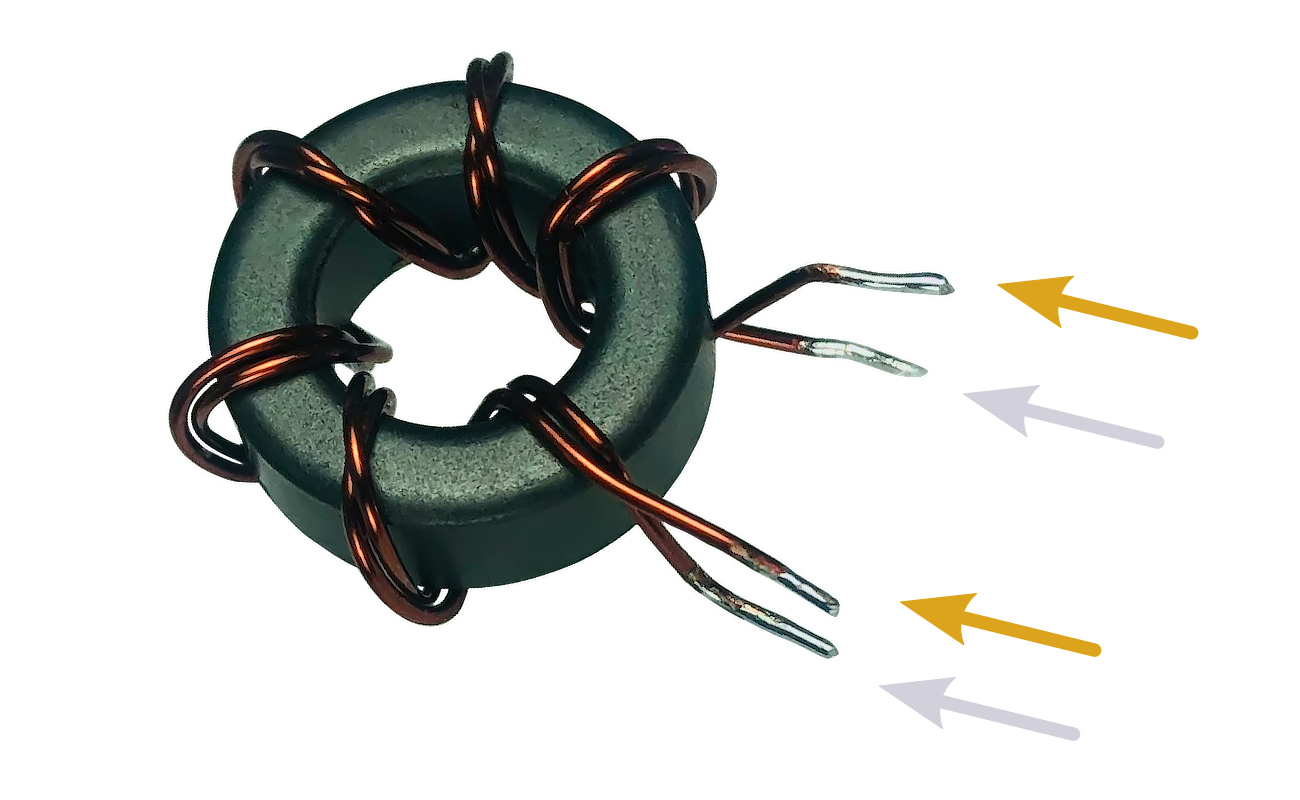
- - Be careful of the coating on the wire when twisting the transformers.
- - Carefully clean the lacquer and measure the correct pin order.
- - When measuring the amplifier with a two-port VNA, don't forget its gain.
- - We recommend connecting an attenuator of similar value to the expected gain of the amplifier (20 dB) to the input port of the VNA.

